Applying for a stablecoin loan has never been easier. All you have to do is open the Celsius app and follow the steps below. If you don't have an account yet, you can follow our guide on how to set up your Celsius account.
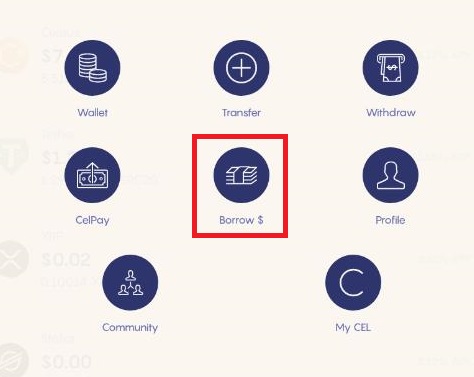
1. Tap on the Celsius logo at the bottom right corner of the screen.

2. Tap on the Borrow option. Here you will be able to request a loan. You can also use the Loan Calculator to estimate your monthly interest payment.
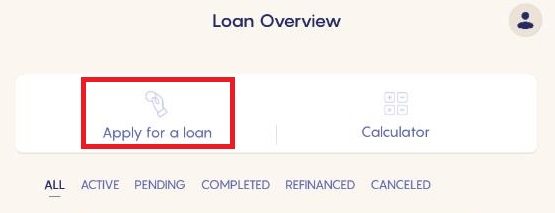
3. Tap on the Apply for a loan button.
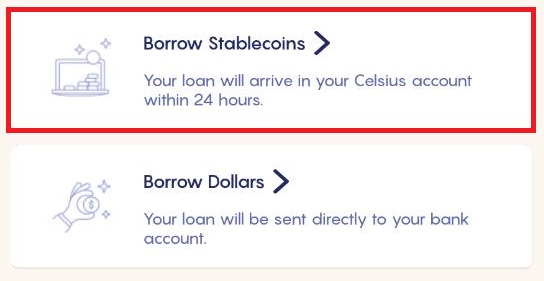
4. Next, tap on the Borrow Stablecoins button.
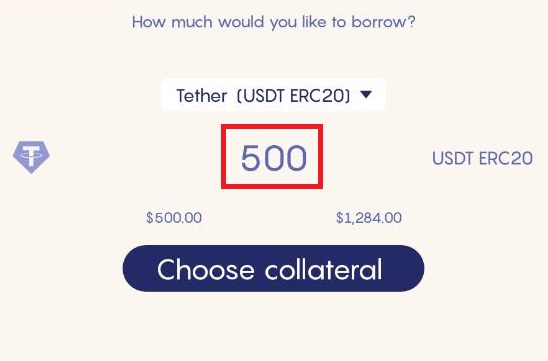
5. Here you will be able to choose the loan amount that you need. To do so, tap on the dropdown box and select the stablecoin of your choice.

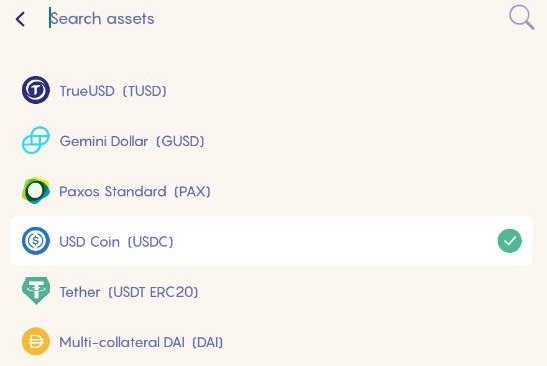
6. After you choose a coin, enter the amount of your loan in the middle of the screen.
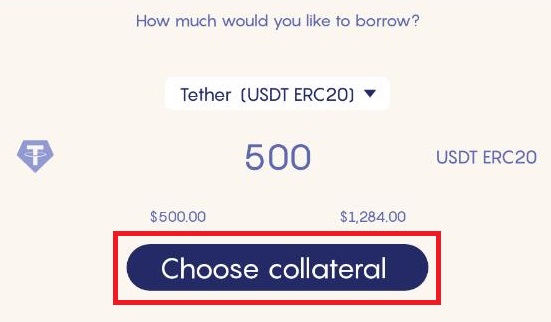
7. Once you have entered both the amount and the currency for your loan, tap on the Choose collateral button.
A list of available collateral will show up. Tap on the desired one (for example, ETH).
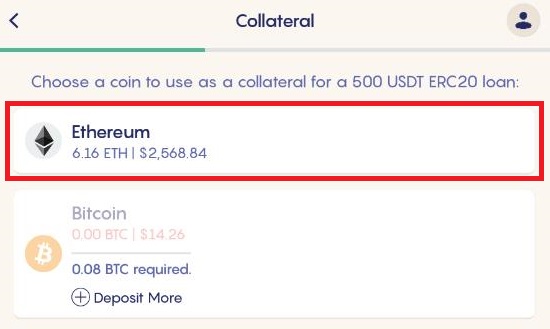
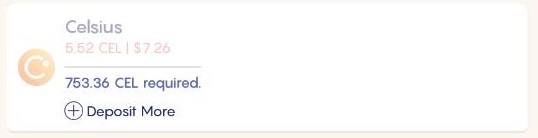
In case you don't have enough collateral for a loan, you will be able to see how much additional collateral is needed for your loan.
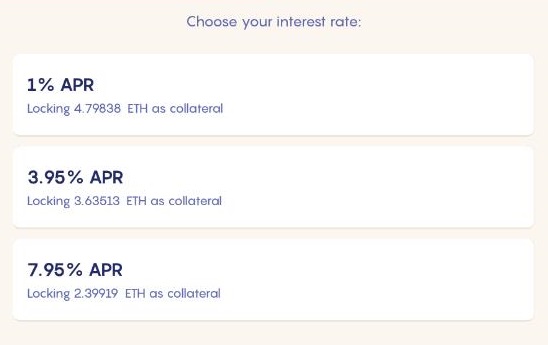
8. The next step is choosing the desired interest rate for your loan. The more collateral you have, the lower the interest rate will be.
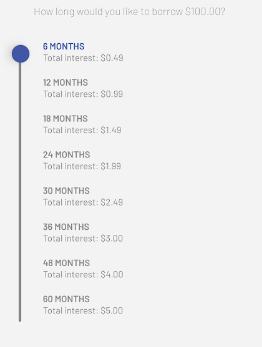
9. Next, you need to choose the term of the loan. You will be able to choose any amount of time between 6 and 60 months.
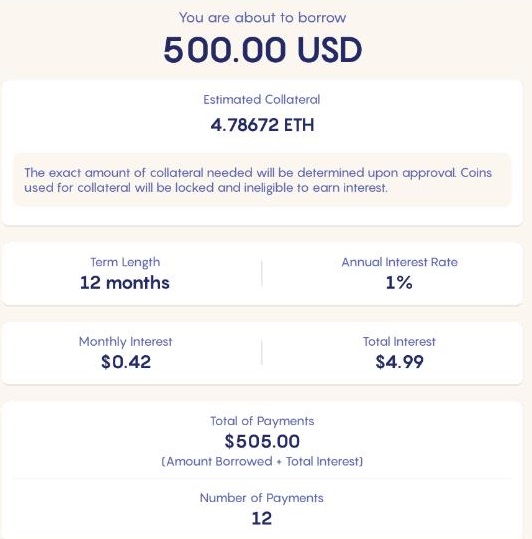
10. On the next page, it will show all your loan details. This screen contains the following information:
- Loan amount;
- Estimated collateral;
- Annual Interest Rate;
- Monthly interest;
- Total interest;
- Total of payments;
- Number of payments;
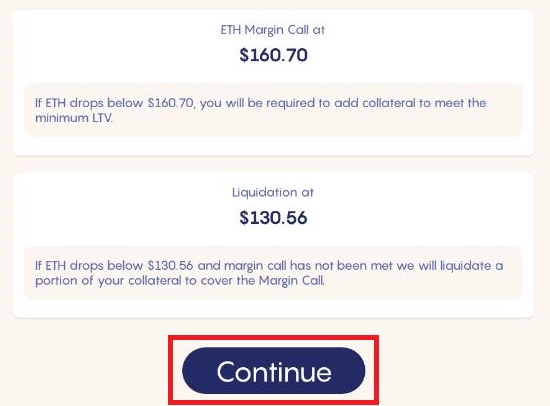
- Margin call for the specific coin that you chose as collateral (if the price of that coin drops below this amount, you will receive a notification to review your borrowing options);
- Liquidation price of the coin you're using as collateral (if the price of this coin drops below this amount, we will sell some of your collateral to cover the margin).
Note that you can receive up to 30% (percentage varies depending on your loyalty level) off your interest payment by using Celsius Token (CEL).
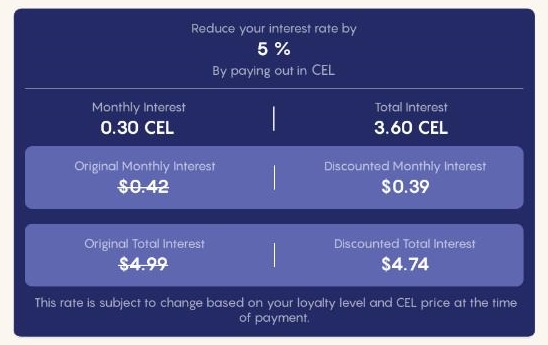
Read more about the Celsius Token here.
11. After you check all the details regarding your loan, tap on the Continue button at the bottom of the page.
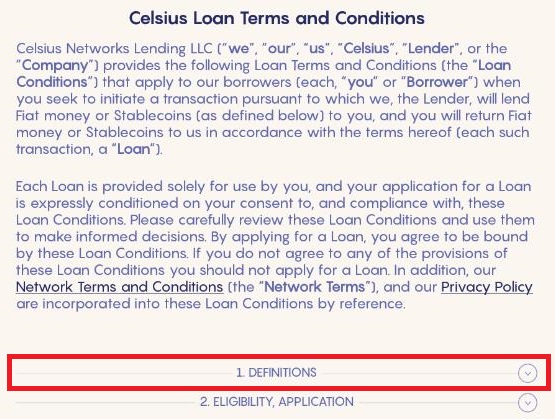
12. The next page will take you to the Celsius Loan Terms and Conditions. You can open and close each of these categories by tapping on the title.
13. After carefully reading through these categories, check the box that reads "I have read, understood and agree to the above mentioned in sections ..."

At the bottom of this page, you will find the Download button. This allows you to download the Celsius Loan Terms and Conditions to your phone in a PDF format.
Below the download option, there's a Request loan button. Tap on it when you're sure that you understand and agree with the Celsius Loan Terms and Conditions.

14. The last step is to enter the required code verification (your 2FA or PIN) to proceed.
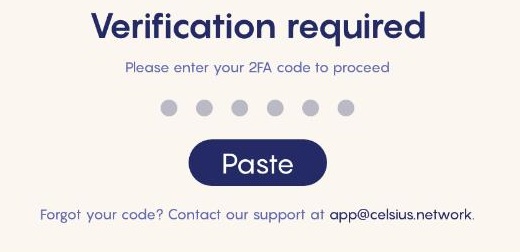
And that's it! You've successfully applied for a Celsius loan.
If you want to apply for a loan in USD, please follow our guide here.
If you need any additional help or if you have any questions, feel free to contact us at loans@celsius.network. We are here to help!